Colorblocking That Also Keeps You Visible on Dark Mornings
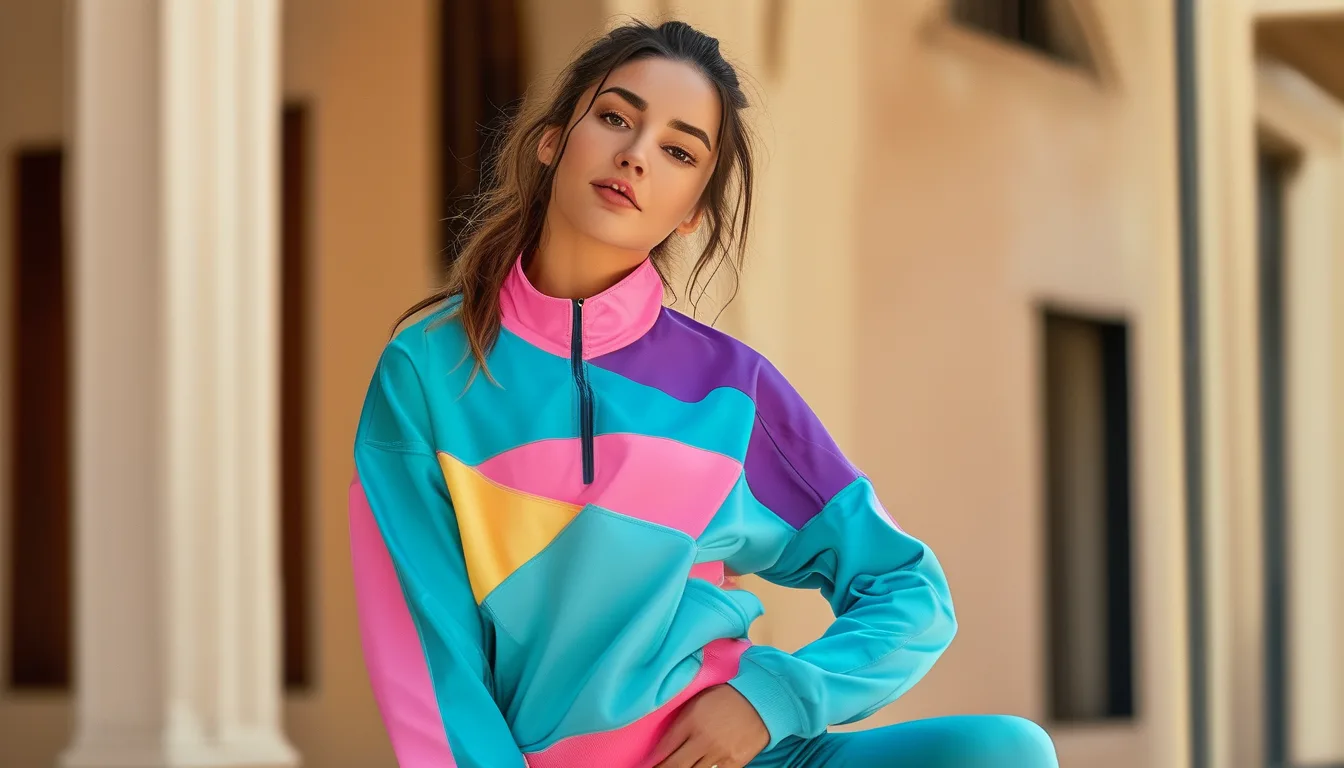
Quick Answer: Two separate things make you visible and people confuse them constantly. Bright colour works in daylight and twilight; reflective material works at night, and only when headlights hit it. Neither replaces the other. The most effective placement is on moving parts - ankles, wrists, and knees - because motion is what a driver’s eye detects long before shape. For colourblocking, that translates neatly: put your brightest block low, keep the reflective elements at the extremities, and let the torso carry the darker colour. It looks like a designed outfit and it works.
The first week of dark departures is always a surprise. It was light at this hour a fortnight ago.
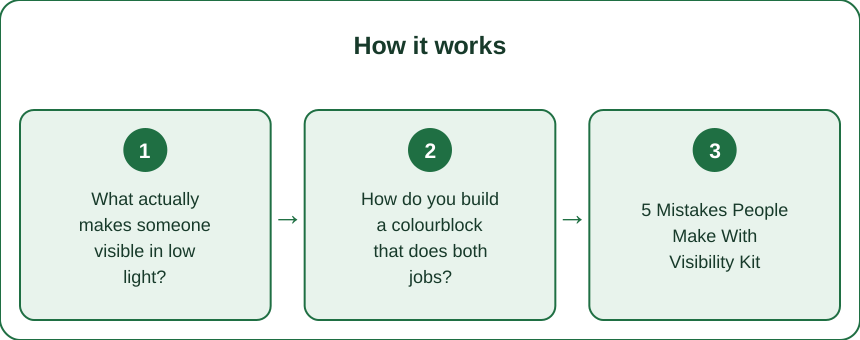
What actually makes someone visible in low light?
The mechanisms are genuinely different for each part of the day, and choosing the wrong one is the common mistake.
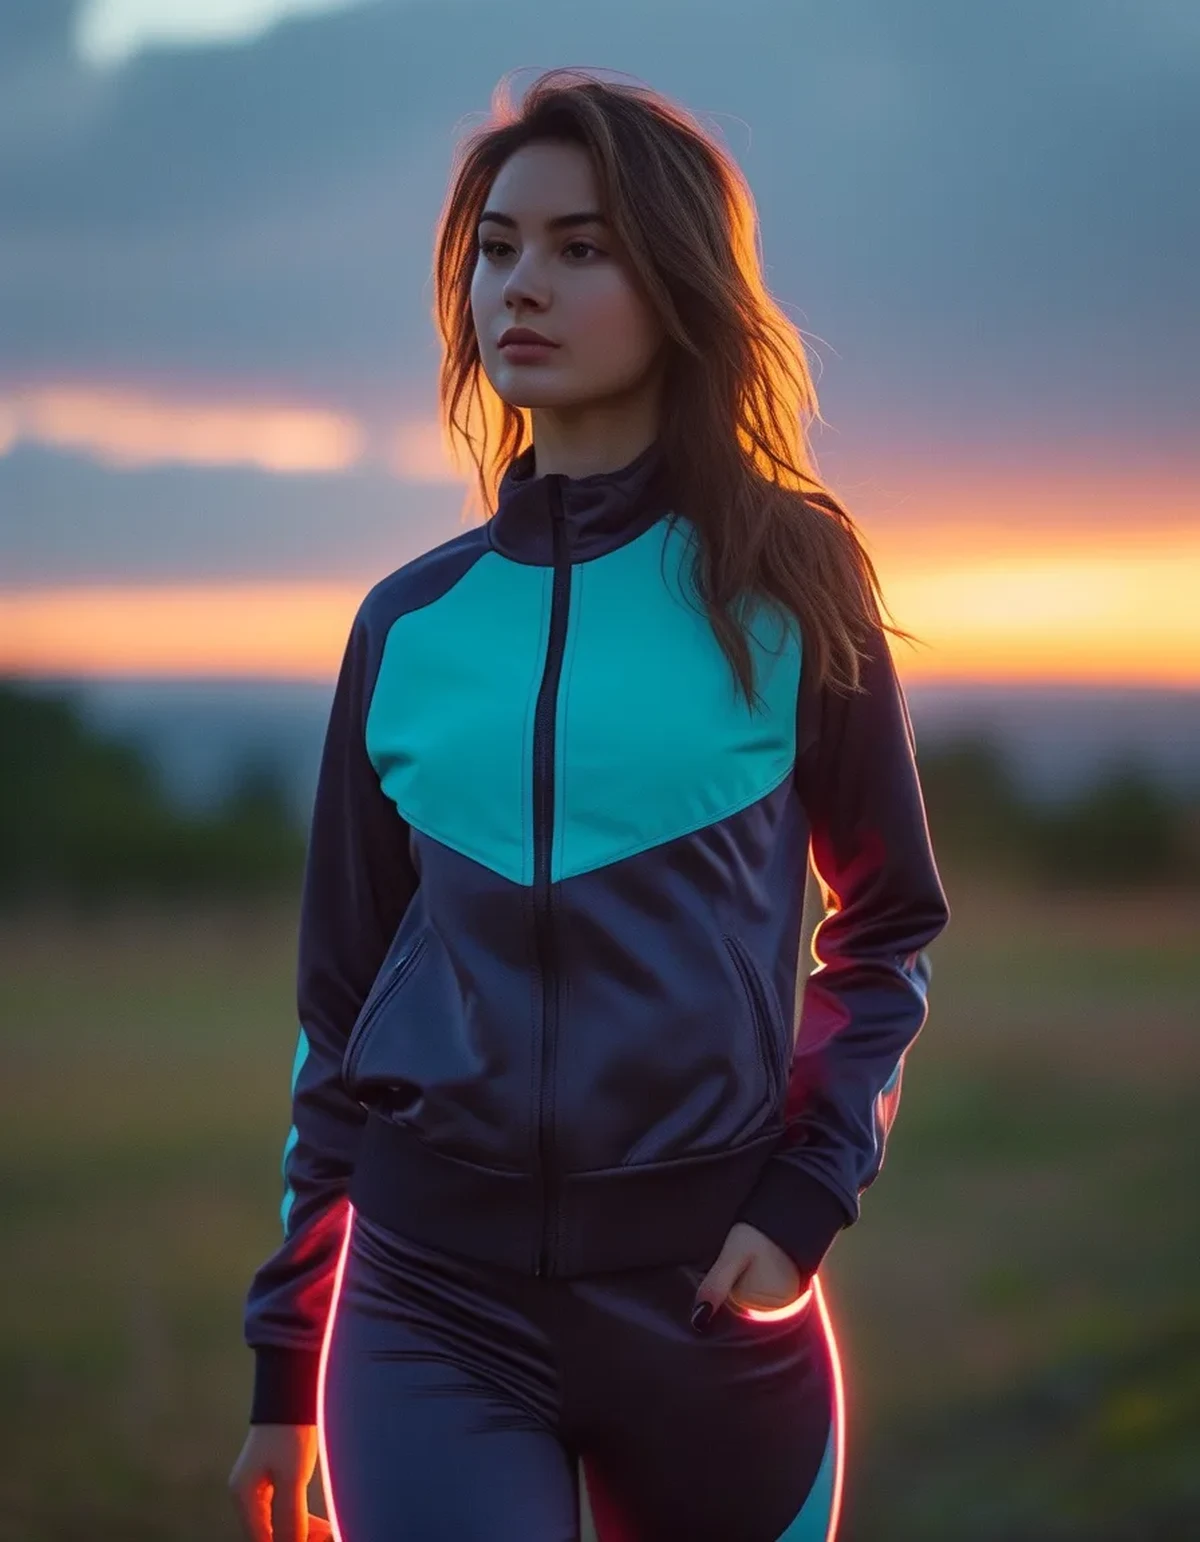
Daylight and overcast: colour contrast against the background. What matters is standing out from what is behind you - so fluorescent colours perform best, because they convert ultraviolet into visible light and appear to glow. This is why safety yellow, orange, and pink read so strongly on a grey morning. Note that fluorescence needs UV, so it works in daylight and stops working after dark.
Dusk and dawn - the highest-risk period. Light levels are low but headlights are not yet dominant. Fluorescent colours still help here and this is where they matter most, because this is when many people are out and when drivers’ eyes are adapting. Contrast is everything; mid-tones disappear against a mid-tone background.
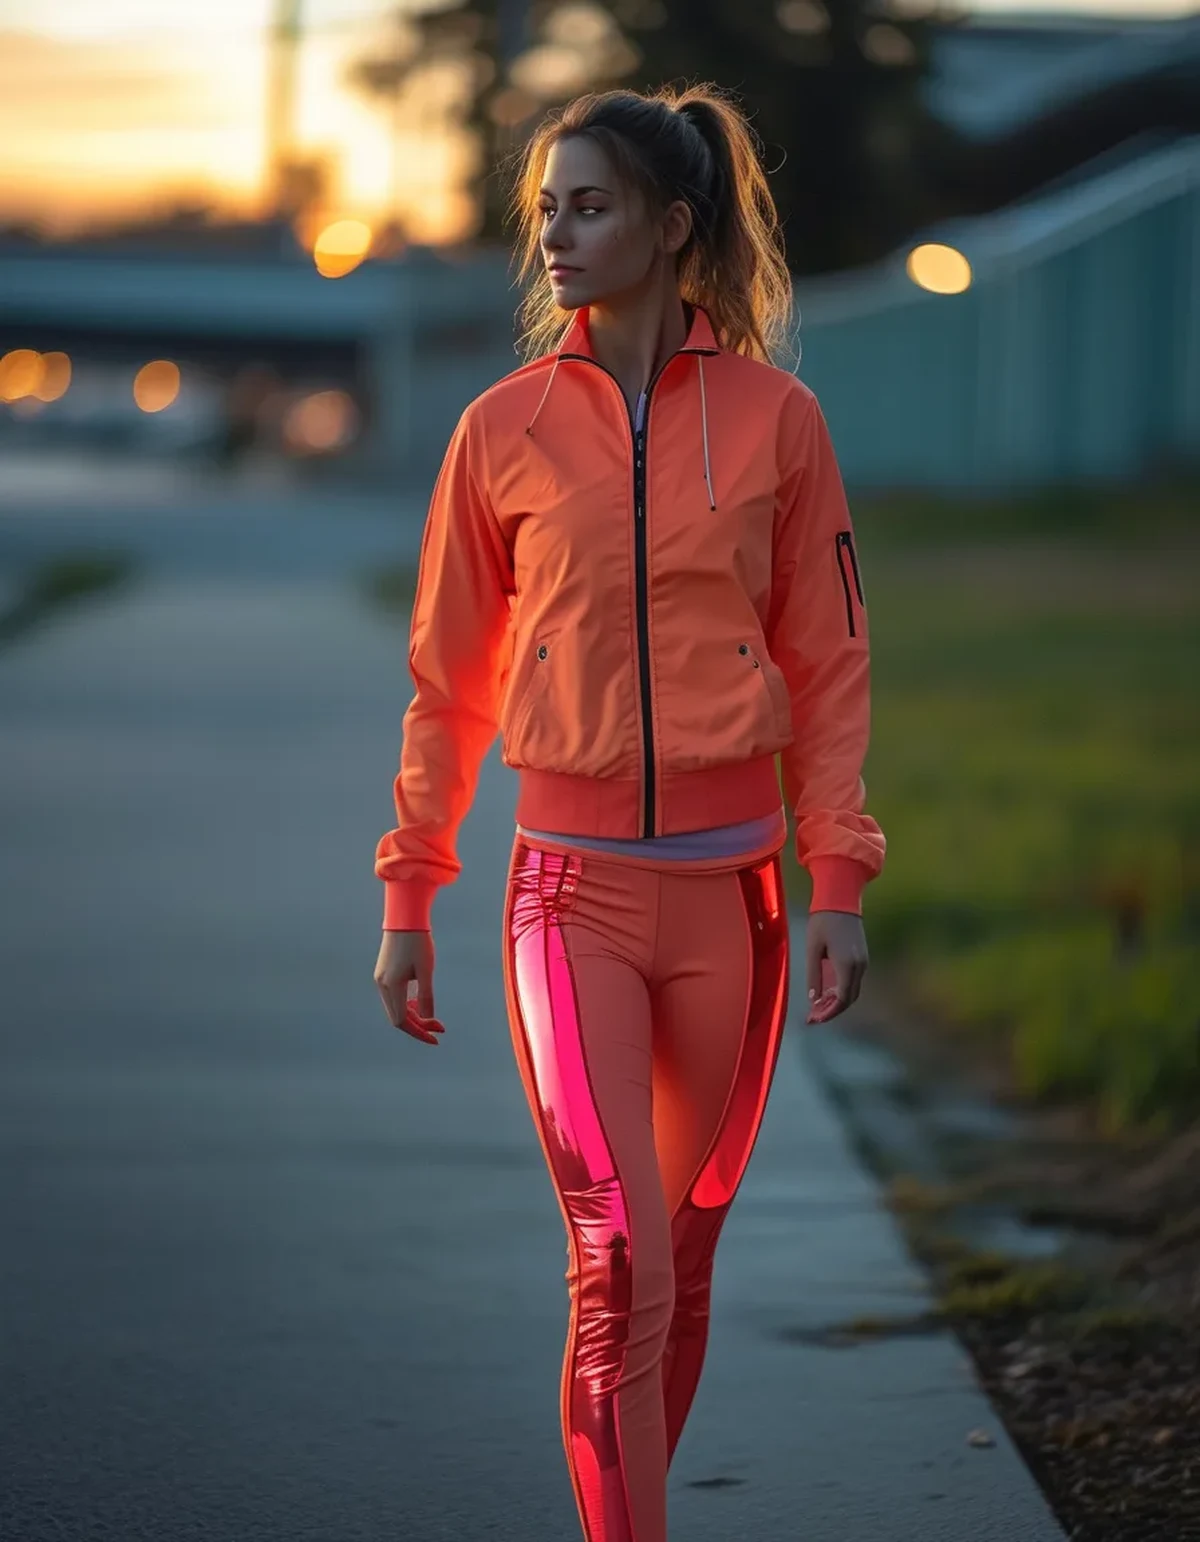
Full dark: retroreflection only. Once ambient light is gone, colour is nearly irrelevant - a fluorescent top and a black top look similar at 60 metres. What works is retroreflective material, which bounces light directly back toward its source, meaning headlights come back to the driver’s eyes. This is the only thing that produces the sudden bright flash that gets attention.
Active lighting beats both. A small blinking light, front white and rear red, is the single most effective thing you can add and it does not depend on anyone else’s headlights being aimed at you.
The critical insight about placement: biological motion. Research on driver perception has found that reflective material on the ankles, knees, and wrists is detected substantially further away than the same amount on the torso. The moving pattern of limbs is instantly recognised as a person, while a reflective patch on a back reads as an ambiguous bright spot. This is why ankle placement outperforms a reflective vest, and it happens to be excellent news for colourblocking, because the extremities are exactly where a designed block naturally sits.
How do you build a colourblock that does both jobs?
The structure that satisfies both visibility and design comes out of the same constraint, which is unusual and convenient.
The three-zone layout:
- Feet and lower leg: the brightest block. Fluorescent or high-chroma colour, plus reflective detail if the shoe or sock has it. This is the highest-value visibility real estate and it is also the smallest area, so a very loud colour is tolerable here in a way it would not be on a whole top.
- Torso: the darker or neutral block. Charcoal, navy, deep olive, black. This is what makes the outfit look like an outfit rather than a safety garment, and torso visibility contributes least anyway.
- Wrists, cuffs, and hairline: small bright or reflective accents. A cuff detail, a light strap, a beanie band. Small area, high movement, high value.
Why this works visually. Weighting the brightest colour low and small is a standard styling move - it grounds an outfit and keeps the eye moving down. Loud on the bottom, quiet on top, is a proportion that reads deliberate. Loud everywhere reads as a uniform, which is the effect most people are trying to avoid.
Practical combinations:
- Charcoal legging with a fluorescent cuff or ankle panel + charcoal top + neon shoes. The neon appears twice, low, which reads as a colour story rather than an accident.
- Deep navy set + a coral or acid-yellow light jacket. The jacket carries all the visibility, comes off indoors, and is the piece you replace when it wears out.
- Black base + a bright vest layer with reflective piping, which is the most flexible version because the visibility is entirely in one removable piece.
The rule for the number of colours: two colours plus one reflective is plenty. Reflective silver reads as a neutral in daylight, so it does not count against your colour budget, which is worth knowing - you can add as much of it as you like without making the outfit busier in the light.
One thing to avoid: a symmetrical bright block on both the top and the bottom in equal amounts. It reads as a costume and it does not add visibility over the low-placement version.
5 Mistakes People Make With Visibility Kit
Mistake 1: Assuming a light-coloured jacket is enough after dark. White and pale colours look reassuringly visible to you standing in a lit hallway. At 100 metres on an unlit road they perform far worse than you would expect, because there is nothing to reflect. Light colour is not reflective material.
Mistake 2: Putting all the reflective material on the back of the torso. It is the traditional placement and it is the least effective per square centimetre. A driver approaching from behind sees a bright rectangle and has to work out what it is; the same material at your ankles reads instantly as a running person. Move it to the moving parts.
Mistake 3: Forgetting that reflective needs a light source aimed at it. On an unlit path with no cars, retroreflective material does nothing at all. That environment needs an active light - a head torch or a clip-on blinker - not a reflective stripe.
Mistake 4: Not checking whether the reflective detail still works. Reflective print degrades with washing, and after a couple of seasons the flash can be dramatically weaker. Photograph the garment in the dark with your phone flash on. If it does not light up brightly, it has stopped doing its job, and it will not tell you.
Mistake 5: Dressing bright and behaving invisible. Visibility kit reduces risk; it does not transfer responsibility. Assume you have not been seen until there is eye contact or the vehicle has clearly slowed. The kit is the second layer of safety, not the first - route choice, facing traffic where appropriate, and not wearing both earbuds are the first.
What should you buy first?
In order of effect per unit of money, which is a very different order from what most people buy.
1. A clip-on light, front and rear. Small, inexpensive, rechargeable, and the only item that works with no other light source. Clip the rear one on the back of a waistband where it is not blocked by a bag or a ponytail. This is the highest-value purchase on the list by a wide margin and it costs less than a pair of socks.
2. Reflective ankle bands or reflective-detailed socks. The best placement, small, and they go with everything because they are only visible as detail in daylight.
3. A bright removable layer. A gilet or a light jacket in fluorescent colour with reflective piping. Removable means it works across a huge temperature range and it concentrates the visibility function in one item you can replace.
4. Bright or reflective-trimmed shoes. Excellent placement, though you are limited to what is available in your model.
5. Reflective-detailed leggings, ideally with the detail at the calf and ankle rather than mid-thigh.
What not to prioritise: a full fluorescent top. Large, expensive, dominates every outfit it is in, and delivers less than a light and ankle bands.
A note on seasonal timing. The awkward stretch is the several weeks where you leave in near-dark and return in full daylight, or the reverse. The removable layer plus a light handles that better than anything built into a garment, because you are not committed for the whole run.
And check your route rather than only your kit. A well-lit path with a pavement removes more risk than any amount of reflective material on an unlit road with no verge. Kit is what you use when the route is the best available, not instead of choosing one.
FAQ: Dark-Morning Visibility Questions, Answered
Is fluorescent or reflective more important?
They solve different problems. Fluorescent for dawn, dusk, and overcast daylight; reflective for after dark with headlights present; an active light for anywhere with no other light source. If you can only have one thing, have the light.
Does black activewear make me unsafe?
At dusk and in the dark without reflective or active lighting, it makes you considerably harder to see. With ankle reflectors and a blinking light, a black outfit is fine - the visibility comes from the additions, not the base colour.
How far away can a driver see reflective material?
It depends on headlights, weather, and placement, but well-placed retroreflective material on moving limbs is detected far sooner than the same material on a static torso. Rain and a dirty windscreen both reduce it substantially, which is a reason to over-provide rather than under-provide in bad weather.
Do reflective details wear out?
Yes. Repeated washing, heat, and abrasion degrade reflective print and tape. Wash inside out, avoid the tumble dryer, and test with a phone flash each season.
Is one light enough or do I need front and rear?
Both, if you are on any road or shared path. You need to be seen by things approaching from both directions, and a front white light also helps you see the surface you are running on.
TL;DR:
- Fluorescent works in daylight and twilight. Reflective works only when a light is aimed at it. An active light works everywhere - and it is the cheapest of the three.
- Put visibility on moving parts - ankles, wrists, knees. Limb motion is recognised as a person far sooner than a bright patch on a back.
- Colourblock layout: brightest block low and small, dark block on the torso, reflective accents at cuffs. It reads as designed rather than as safety kit.
- Reflective silver counts as a neutral in daylight, so it does not make an outfit busier.
- Test reflective detail every season with a phone flash in the dark - it degrades with washing and does not warn you.
Buy the clip-on light before anything else. Then put the bright block at your ankles and keep the rest of the outfit yours.
See It in Motion
Seen here: High Waist Yoga Leggings with Side Pockets — shop it on bubblelime.com
Keep Reading
This article is for general informational and styling purposes only. Fit, sizing, and product availability may vary.